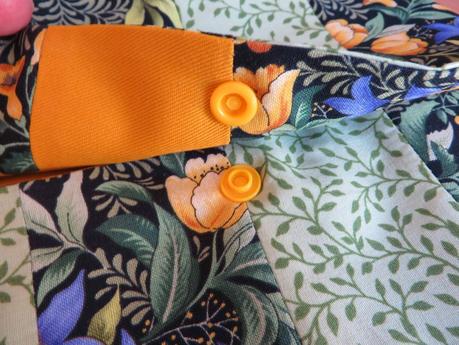
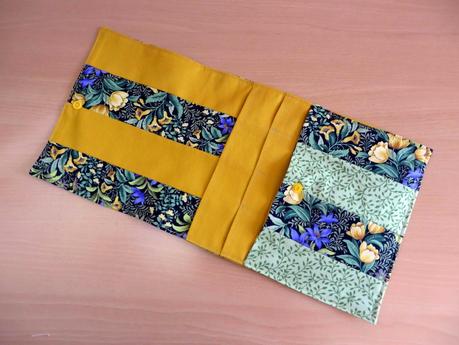
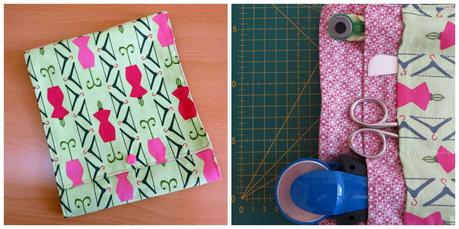
Terminamos nuestro kit de labores portátil con la bolsa de patchwork.
Let’s finish our travel needlecrafts kit with the patchwork bag.

1- La medida de la bolsa es de 65 cm. x 25 cm. A un lado tiene tres bolsillos superpuestos de las medidas que veis en el esquema. El bolsillo superior resulta de doblar la pieza principal.
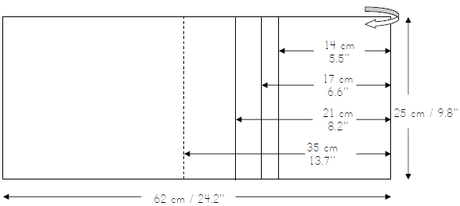
La línea discontinua del esquema indica por donde se dobla para cerrar la bolsa.
The dotted line in the drawing indicates where to fold the bag along to close it.
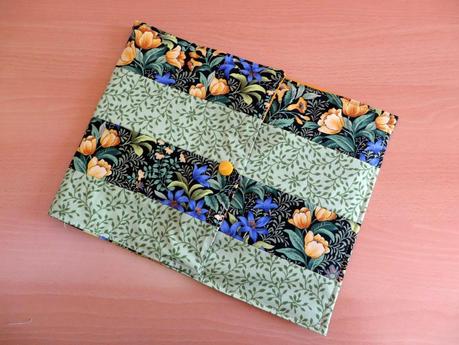
Por tanto, necesitamos dos piezas de tela 76 cm x 25 cm., una pieza de 21 cm x 25 cm y otra de 17 cm x 25 cm. Las piezas grandes, que son la exterior y la interior, las he hecho con tiras de distintas telas, pero podéis hacerlo también con una sola tela.
Therefore, we need two fabric pieces of 29.6’’ x 9.8’’, one piece of 8.2’’ x 9.8’’ and other one of 6.6’’ x 9.8’’. I made the big pieces, which are the outside and the inside ones, using strips of different fabrics, but you can make them also with just a fabric.
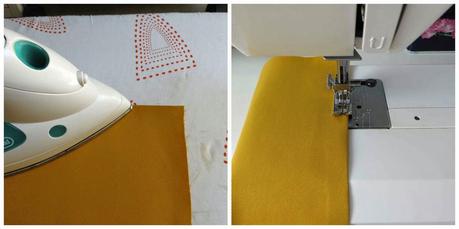
2- Cortamos las piezas pequeñas, planchamos el borde haciendo el dobladillo y lo cosemos.
2- Cut the small pieces, iron the edge making the hem and sew it.
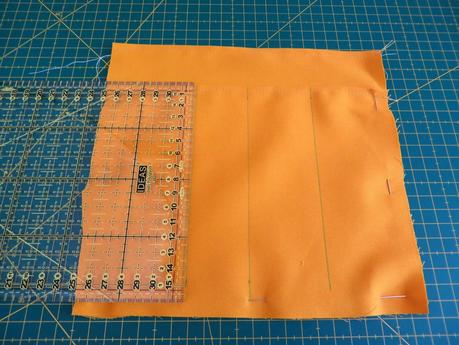
3- A continuación marcamos en el bolsillo pequeño las líneas por donde vamos a coser para hacer pequeños bolsillos, superponemos los dos bolsillos haciendo coincidir los bordes laterales e inferior y cosemos juntos por las marcas.
3- Next draw in the small pocket the lines where to sew and make small pockets, superpose both pockets matching the side and lower edges and sew along the lines.
4- Para montar la bolsa colocamos los bolsillos sobre la pieza de tela interior a 14 cm del margen derecho y la tela exterior encarada (derecho con derecho) encima, coincidiendo con la interior. Cosemos todo el margen salvo un hueco para darle la vuelta.
4- To assemble the bag, place the pockets on the inside fabric piece at 5.5’’ from the right margin and fit the outside fabric (both right sides) above, matching with the inside fabric. Sew all the margin except a part to turn the inside out.
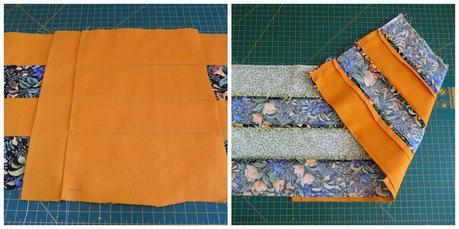
5- Una vez vuelto del derecho, doblamos la parte de la derecha (que debe medir 14 cm) sobre los bolsillos y pasamos un pespunte por todo el borde. Así cerramos el hueco que habíamos dejado y hacemos el tercer bolsillo. Terminamos poniendo el broche de cierre en el bolsillo exterior y en la "tapa".
5- Once turned the inside out, fold the right side (it must measure 5.5’’) onto the pockets and make a backstitch on the edge. This way the part we left unstitched is closed and the third pocket is made. Conclude by putting the locking clasp on the inside pocket and on the cover.
